

Getting Started with Comparizen
Understanding the Core Workflow of Visual Regression Testing
Published on:
New to Comparizen? This guide provides a foundational understanding of the core concepts and typical workflow for implementing effective visual regression testing with Comparizen, based directly on the official documentation. Learn how Comparizen helps you catch UI bugs and maintain visual consistency.
Core Concept: Visual Comparison and Baseline Management
The fundamental principle of Comparizen’s visual regression testing is comparison. Every new screenshot captured during a test is compared against a previously approved reference image for that specific UI element or page. This collection of approved reference images is known as the Baseline.
- Unique Snapshot Names: Assigning a unique
nameto each screenshot is crucial. Comparizen uses thisnameto identify the correct Baseline image for the visual comparison. - Establishing the Baseline: When you begin using Comparizen for a project, the Baseline is initially empty. The very first screenshot uploaded for a given
nameis automatically marked asnew. You must then review this initial snapshot in the Comparizen Dashboard. If it represents the correct visual state, youacceptit, adding it to the Baseline. All future screenshots uploaded with the samenamewill be compared against this established Baseline image.
Understanding the Comparizen Visual Testing Workflow
Integrating Comparizen visual regression testing into your automated testing process typically involves the following key steps, often executed within your test automation scripts (using frameworks like Playwright, Cypress, Selenium, etc.):
- Initiate a Test Run: Start by creating a
Test Runvia the Comparizen API or a client library. A Test Run acts as a logical grouping for all visual comparisons performed during a specific test execution cycle (e.g., a single CI/CD build). Creating a Test Run returns a uniqueTest Run ID, essential for subsequent steps. - Upload Screenshots for Comparison: Within your test script, as you interact with your application, capture screenshots of key UI elements or pages. Upload each screenshot to the currently active
Test Runusing the obtainedTest Run IDand providing the uniquenamefor that visual snapshot. - Finalize the Test Run: After your test script completes and all relevant screenshots have been uploaded, finalize the
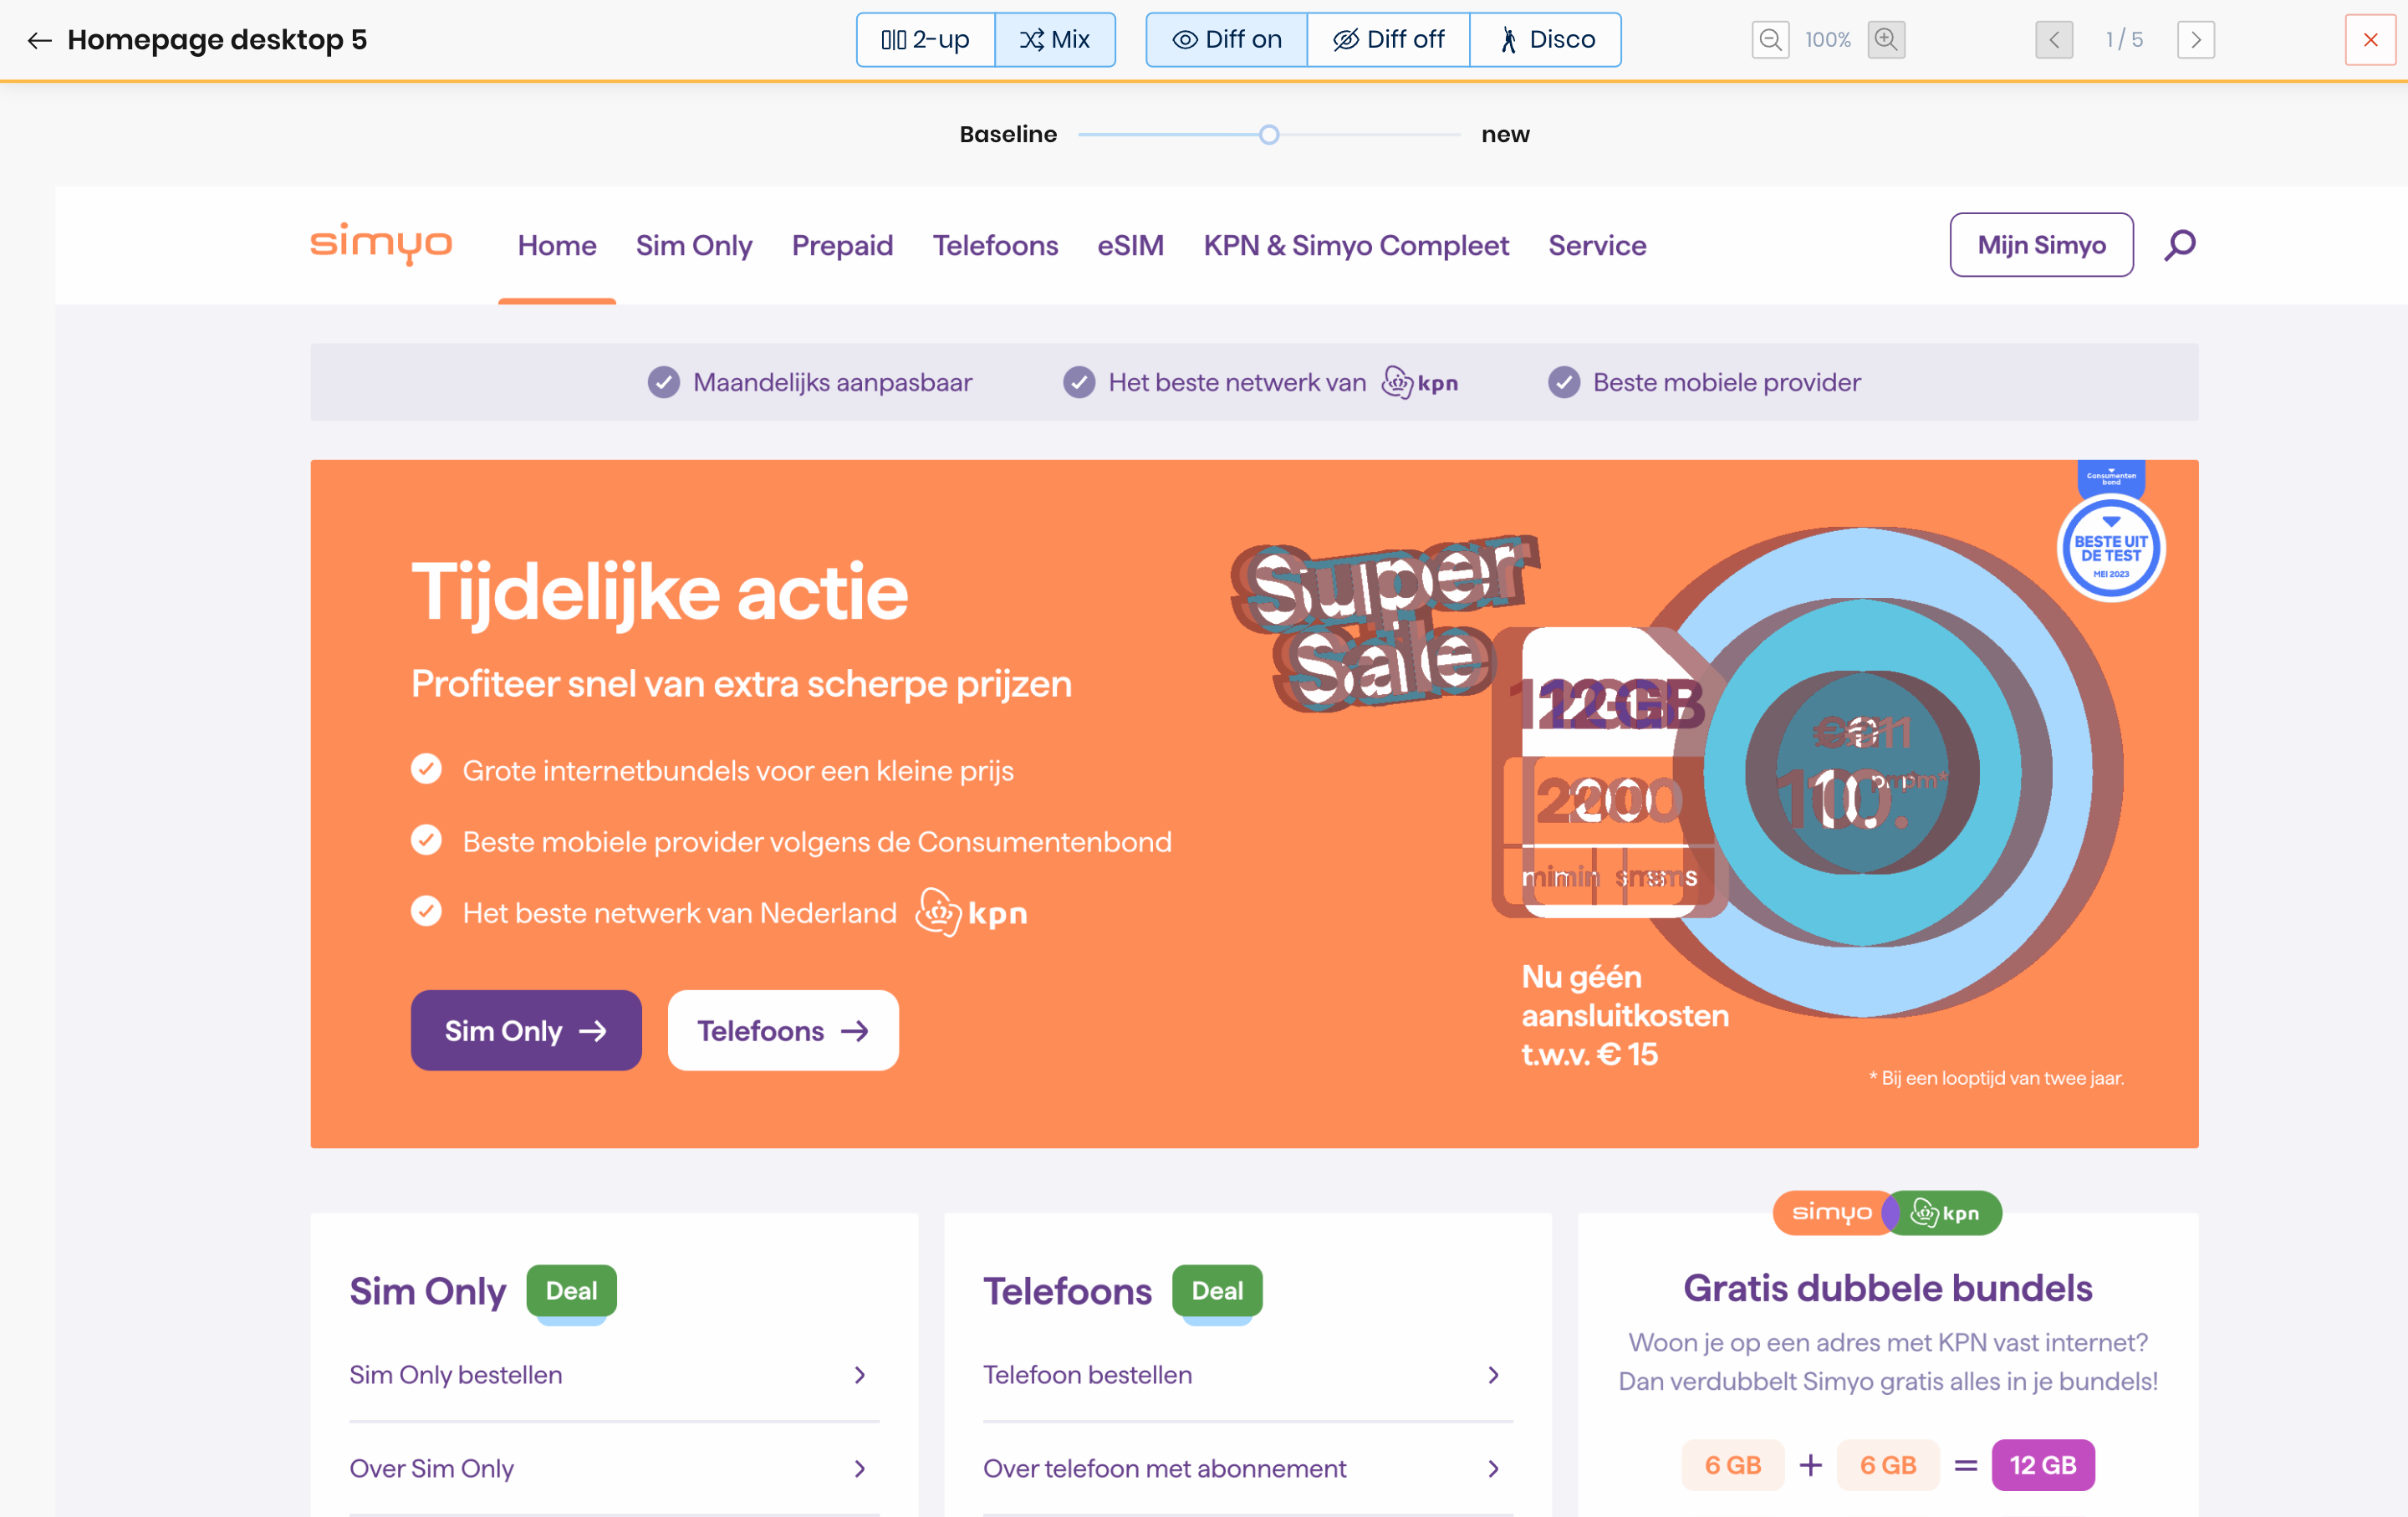
Test Run. This signals to Comparizen that the test execution is complete and no further screenshots will be added to this specific run, allowing for final status calculation. - Review Visual Differences: Comparizen automatically processes the uploaded screenshots, comparing each against its corresponding Baseline image. If significant visual differences are detected (considering configured comparison thresholds), the Test Run status will indicate the need for review. Team members can then access the Comparizen Dashboard to visually inspect the highlighted differences,
acceptintended UI changes (which updates the Baseline), orrejectunintentional visual regressions (flagging them as bugs).
Integrating Comparizen: API and Client Libraries
Interaction with the Comparizen platform is primarily handled via its robust REST API. To streamline the integration process into your test automation frameworks, Comparizen provides convenient client libraries for popular languages and environments:
- NodeJS Client
- Comparizen Playwright Integration (Learn more in our dedicated Playwright visual regression testing guide!)
- Comparizen Java Client
- Comparizen C# / .NET Client
Consult the official Comparizen API Reference and the documentation for your chosen client library for specific implementation details and advanced options.
Organizing Visual Tests: Projects and Workspaces
Comparizen provides organizational structures to manage your visual regression testing efforts effectively:
- Comparizen Projects: Use Projects to logically group Test Runs. A common practice is to create one Comparizen Project per application or website undergoing visual testing.
- Comparizen Workspaces: Workspaces facilitate team collaboration, allowing multiple users to work together on one or more Comparizen Projects.
Ready to Start Visual Regression Testing?
This guide has outlined the fundamental concepts of the Comparizen workflow for visual regression testing. Your next steps are typically to sign up for Comparizen, create your first Project, obtain your API key, and integrate the appropriate client library into your test automation suite. Explore the comprehensive Comparizen documentation for in-depth information on advanced features such as comparison thresholds, handling dynamic content (ignoring regions), and seamless CI/CD pipeline integration.
Start catching visual bugs today!